Making a Rosette

For my next guitar build, I decided to learn the intricacies of designing and creating my own rosette from scratch. The tradition of adding a decorative element around the sound hole goes back centuries and today just about every modern guitar has one. They can be as simple as a few solid lines, as in the case of our 1935 Gibson, to the complex and imaginative creations of master luthiers like Bill Nesse.
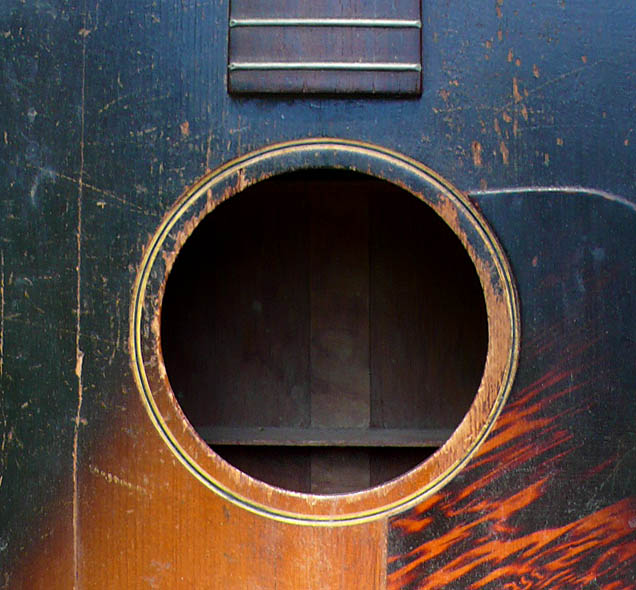
1935 Gibson L-00
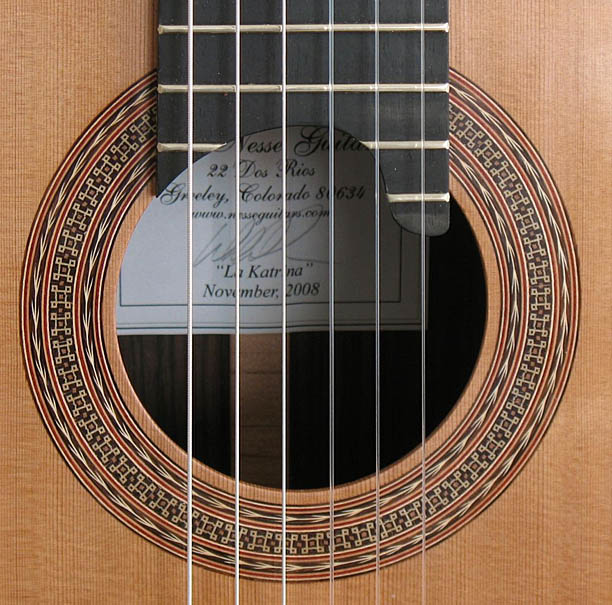
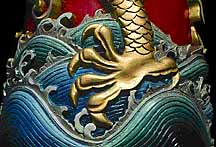
Bill Nesse, 2008
Incredibly, one can choose from dozens of beautiful mass produced rosettes, ready to inlay, from luthier supply firms like this one from LMI for less than $20.:

Premade rosette
As you can see from the previous two examples, rosettes are typically composed of three elements:
1. The mosaic, or tile.
2 The rope, wheat, or herringbone pattern.
3. Simple lines of various width and color.
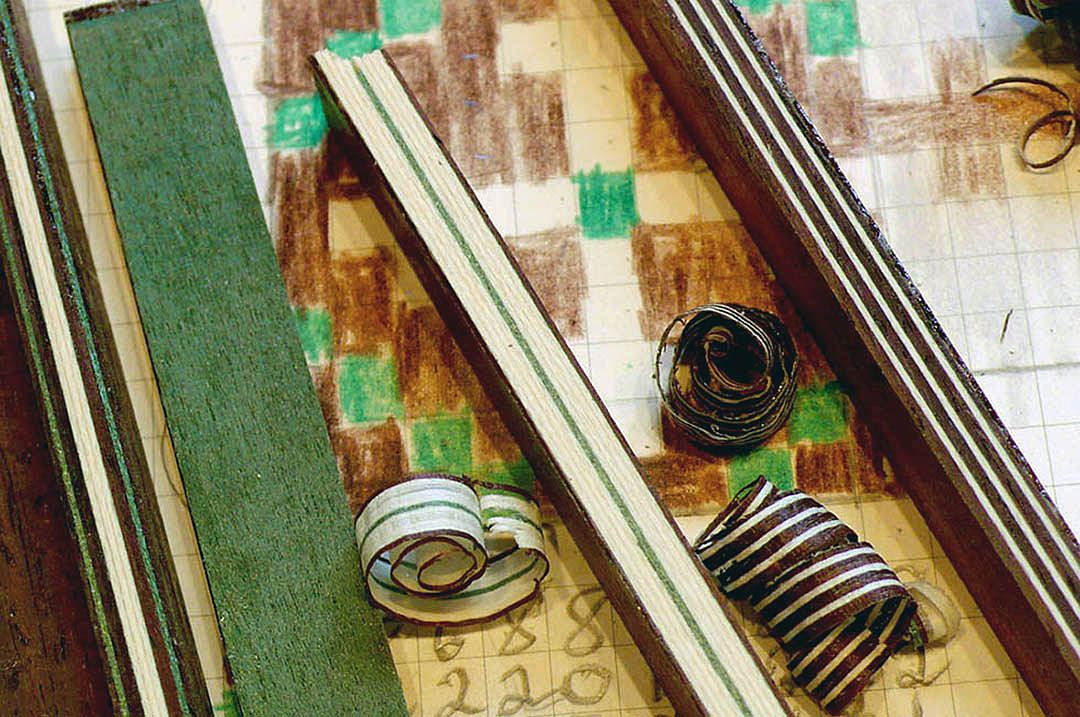
While there are no hard and fast rules governing the design, the mosaic is usually in the center separated from the rope, wheat, or herringbone pattern by the simple lines. In the following closeup of my rosette in progress, you can see the three elements. The inner rope pattern has yet to be added. The black and green lines, or sticks, as they are called, were purchased from a luthier supply firm. The sticks come in various dimensions up to 1 x 1.5 mm and are dyed under pressure so that the color infuses the wood throughout.
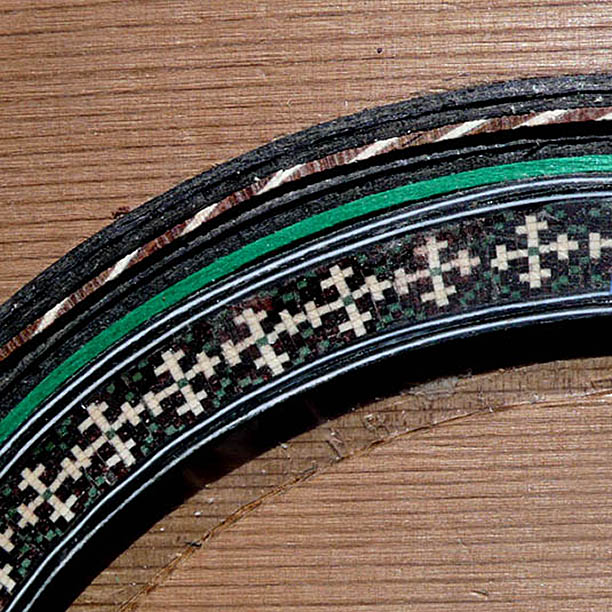
Rosette detail
Below is my completed rosette followed by a few images documenting the process and some of the tools. The rosette was built on a scrap piece of cedar (just in case) and will be inlaid into the real thing later. The ragged ends will be cleaned up even though that part of the rosette will be permanently covered by the ebony fingerboard that will abut the top of the sound hole.
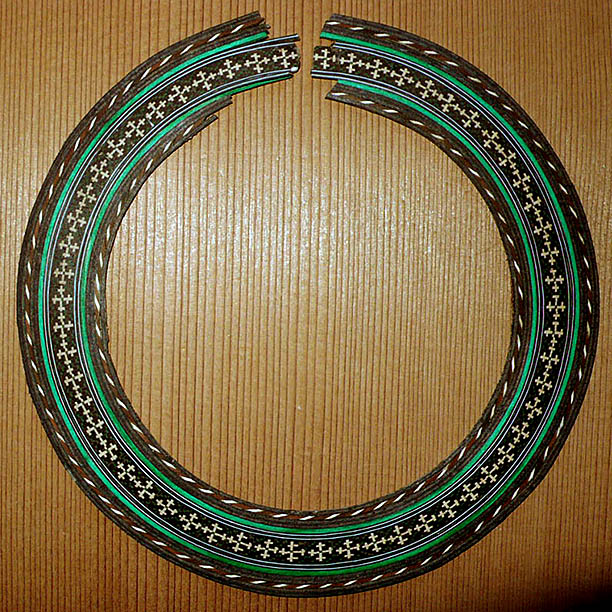
Completed rosette
Making the Mosaic
To begin with, using diagrams by Bill Nesse whose instructions I was following, I built a handy little device called a thicknesser. The thicknesser has an ordinary blade from a plane clamped to it and is opposed by a piece of Formica. The thin wooden strips are pulled through the opening using the “puller” to achieve a uniform thickness.
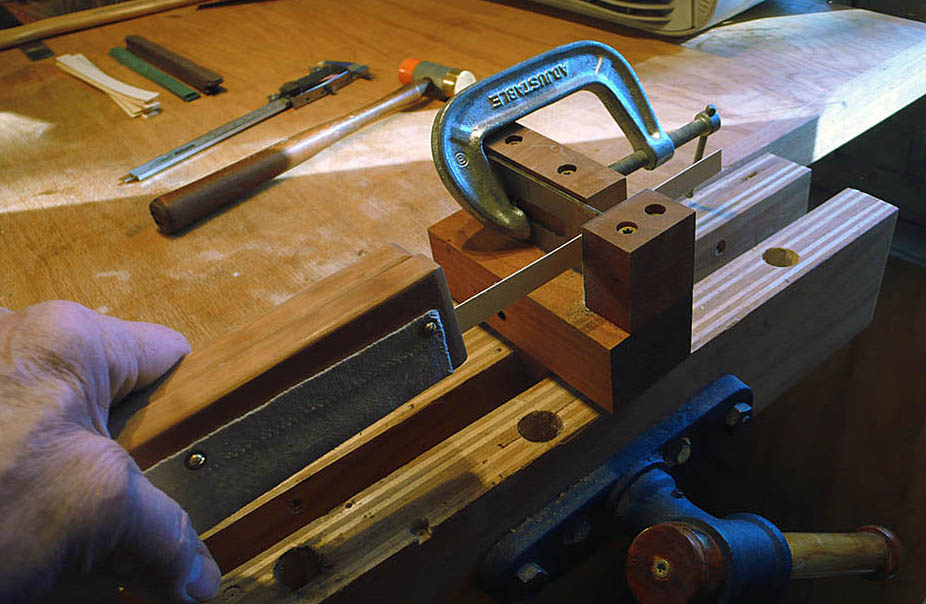
Thicknesser
Here’s another shot of the thicknesser showing a maple board that I cut into thin strips on a bandsaw then pulled through the thicknesser, which along with the puller, is made of mahogany. The maple was used for the white parts of the rosette.
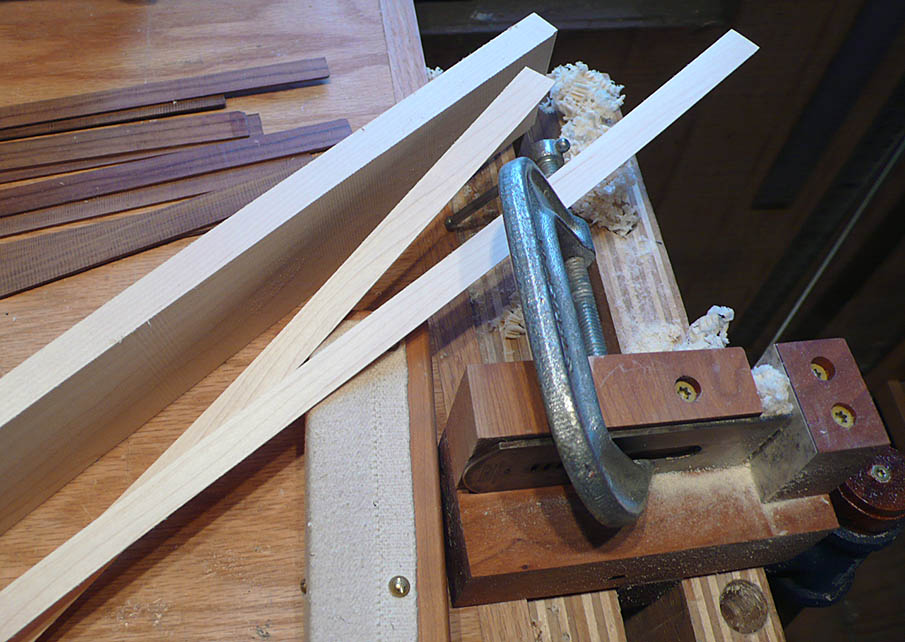
Thicknesser with maple
The circle cutter is another tool I made from Bill Nesse’s diagrams. Like the thicknesser it’s made from mahogany with a high carbon steel blade by Ron Hock (http://www.hocktools.com/).
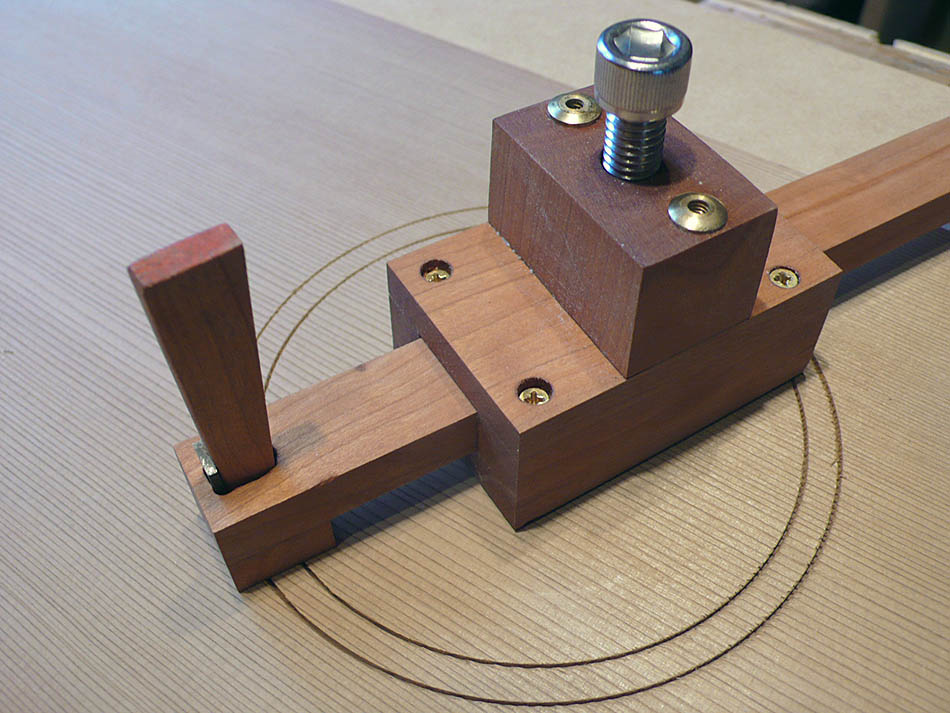
Circle cutter
Using fish glue for its high tack and long open time to glue veneer strips for the mosaic:
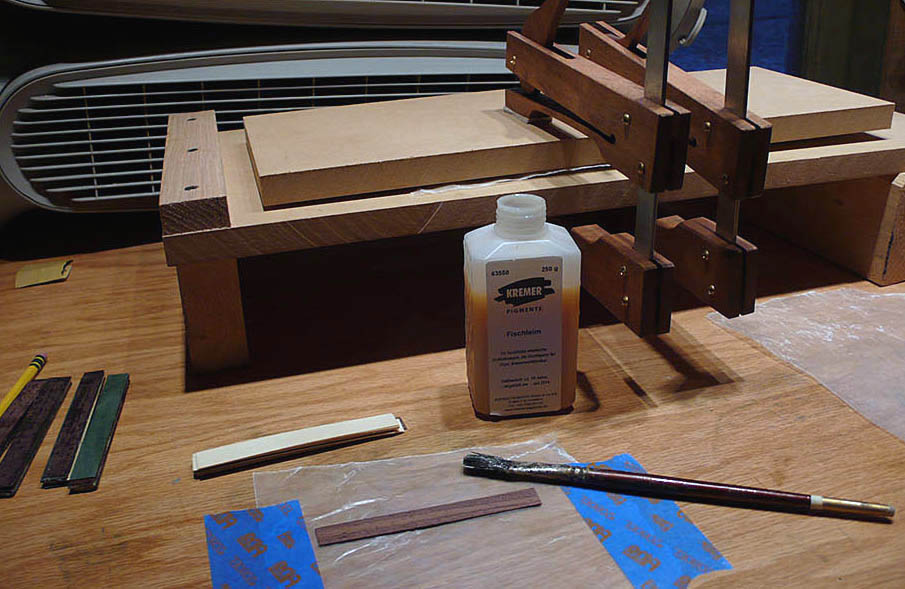
Gluing veneer
Creating a mosaic requires careful planning and gluing veneer strips together in the correct order following your diagram. Each column of the diagram is represented by one stack of 11 veneer strips, one strip for each of the 11 rows of the column:
Mosaic diagram and veneer stacks
A total of 110 veneer strips are glued up to create 10 veneer stacks, one for each of the 10 columns. 1 mm lengthwise slices are cut from each stack and assembled to create the mosaic log:
Assembled mosaic columns
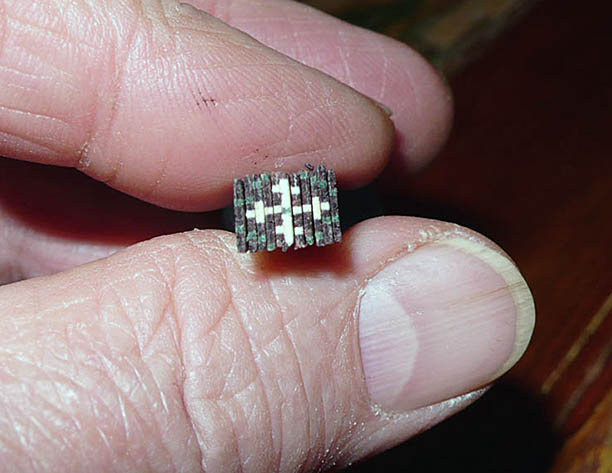
Once the log is glued up, 1.5 mm slices are cut from the end and glued into the rosette channel one at a time:
Cutting mosaic log
Making the Rope Pattern
Both the mosaic and the rope parts of the rosette require multiple stages of slicing, assembling, and gluing. There are four of these stages involved in creating the rope pattern. In addition to being used in the rosette, the rope pattern or perfling, can also be used as a decorative element with the binding around the edges of the top and bottom of the guitar.
Below, as with the maple shown above, I cut thin slices, or veneers, from rosewood using a bandsaw:
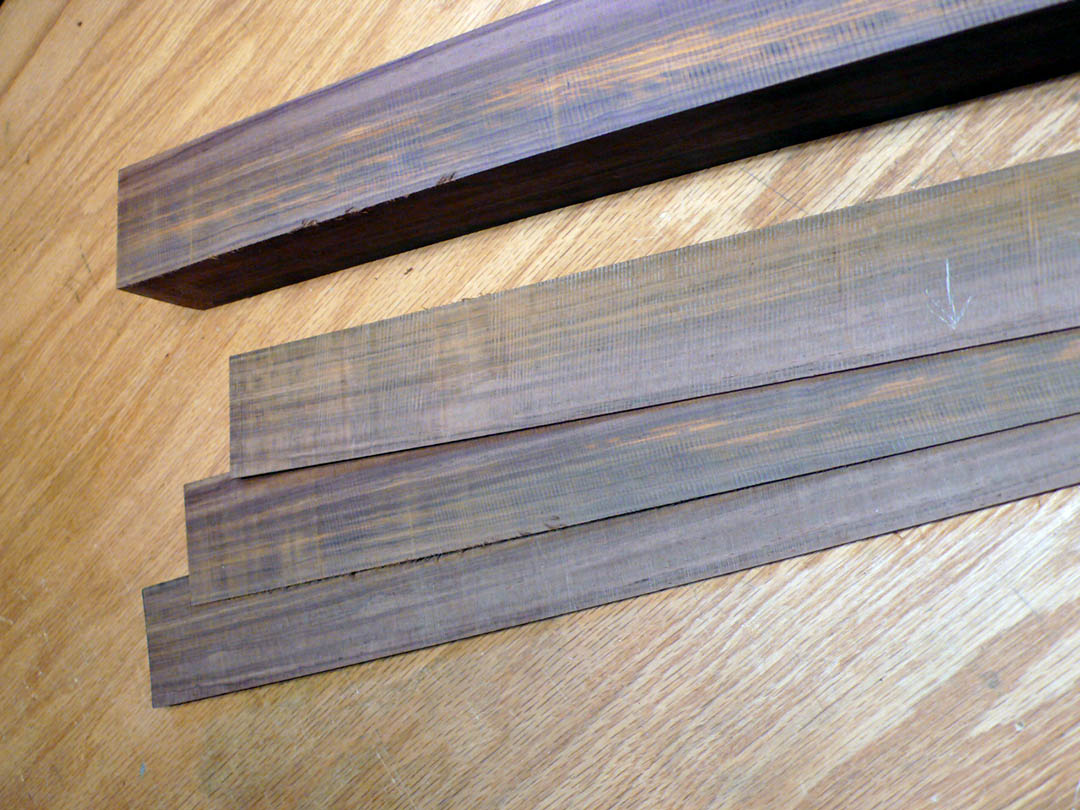
Cutting rosewood veneer
The rosewood veneers are glued up with the maple to create a dark and light pattern:
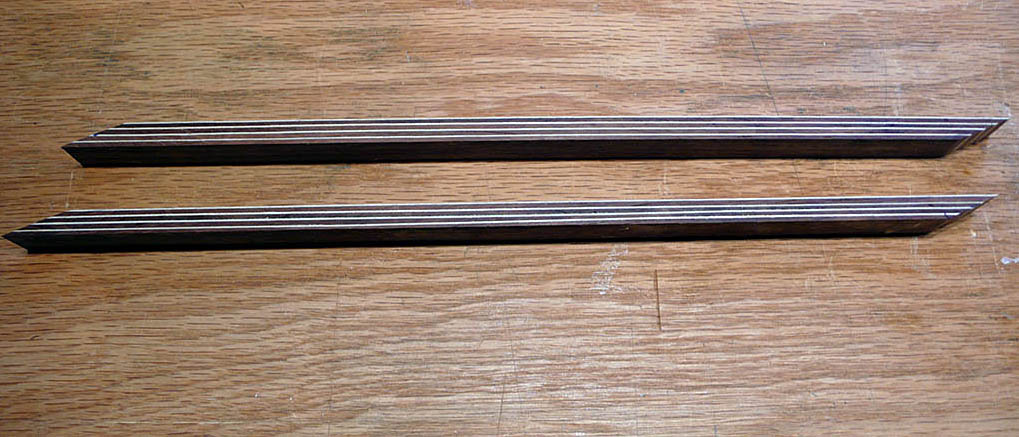
Rosewood/maple stacks
These are cut at an angle on the bandsaw using an angle jig:
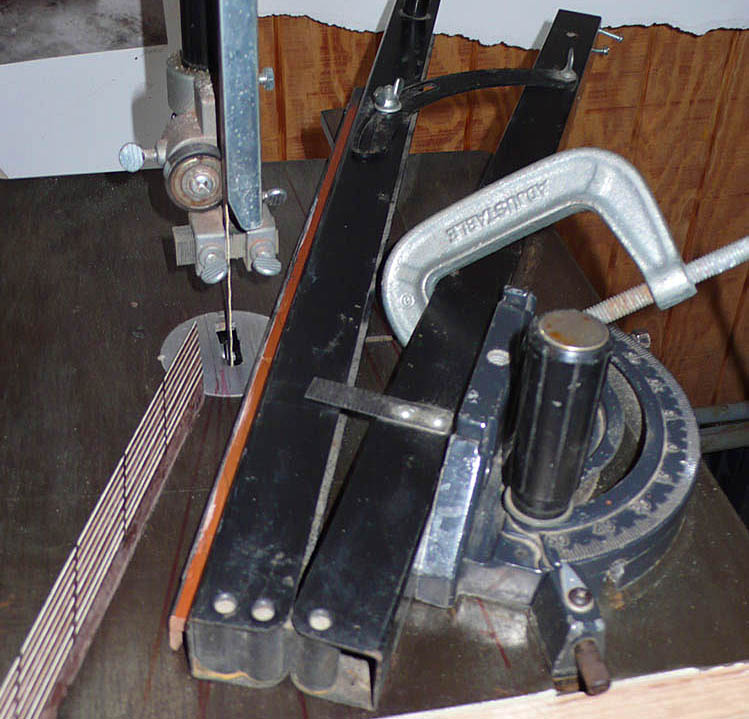
Angle cutting jig
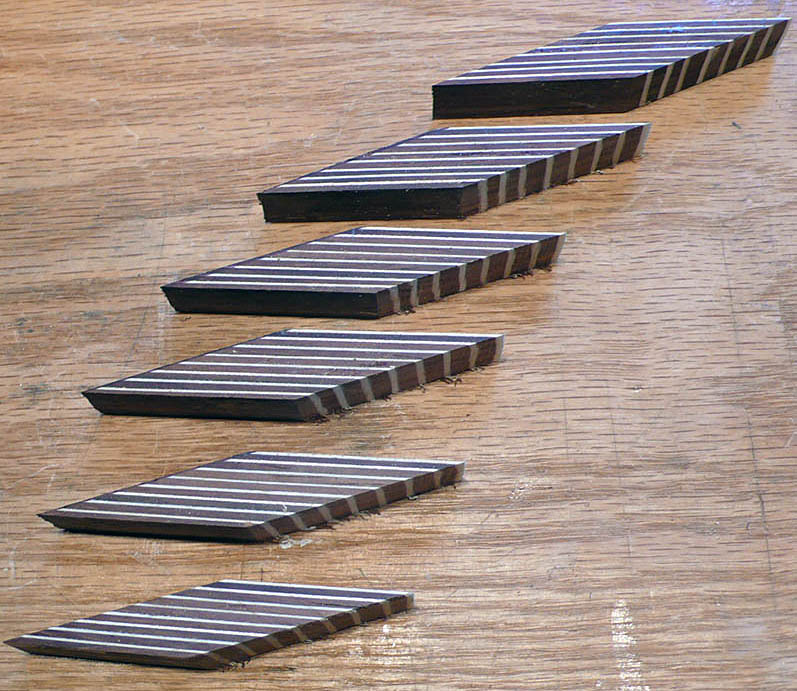
Segments
The segments are then reassembled and glued up again:
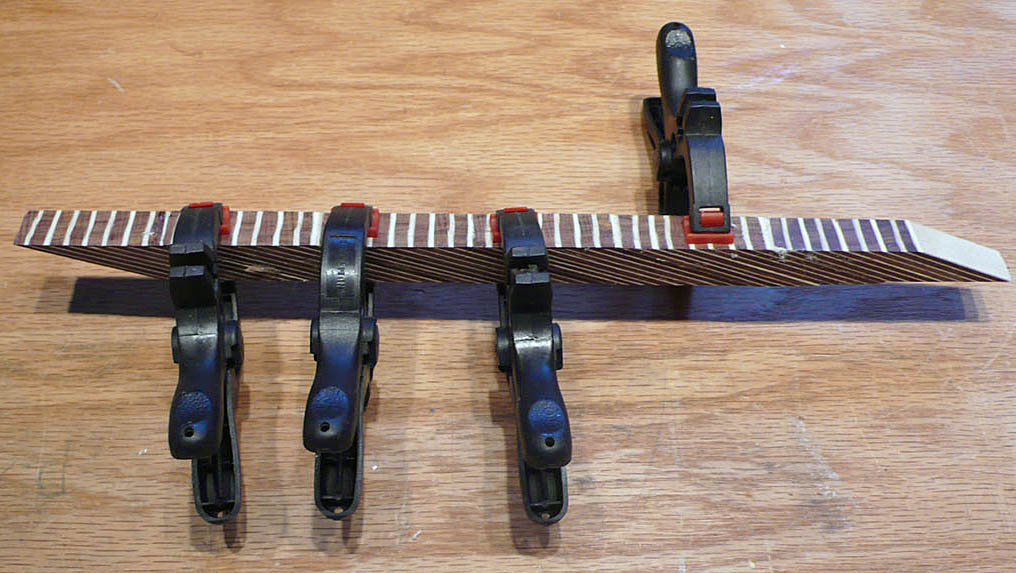
Rearranged segments glued and clampled
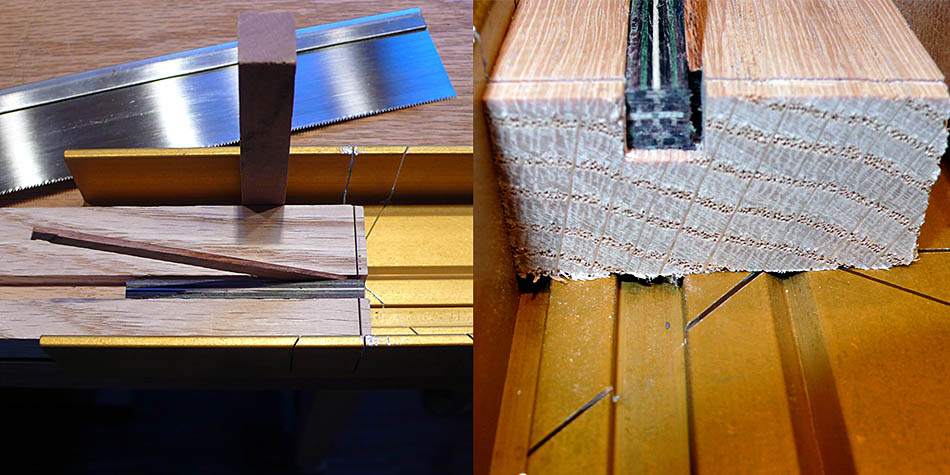
From the resulting log thin slices are cut that will become the rope lines of the rosette:
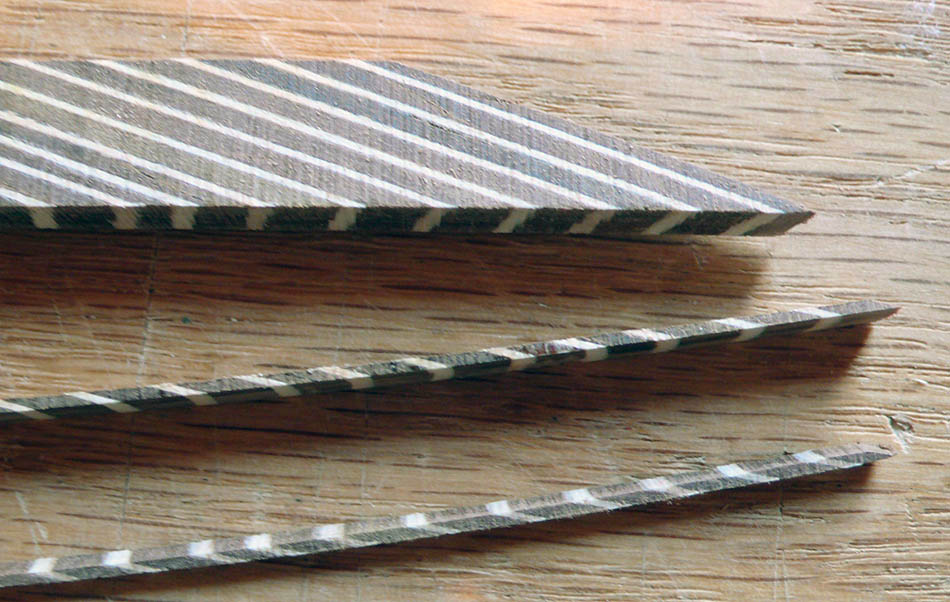
Final cut
Although I didn’t use it for this rosette, when two rope segments are placed together they create a herringbone pattern:
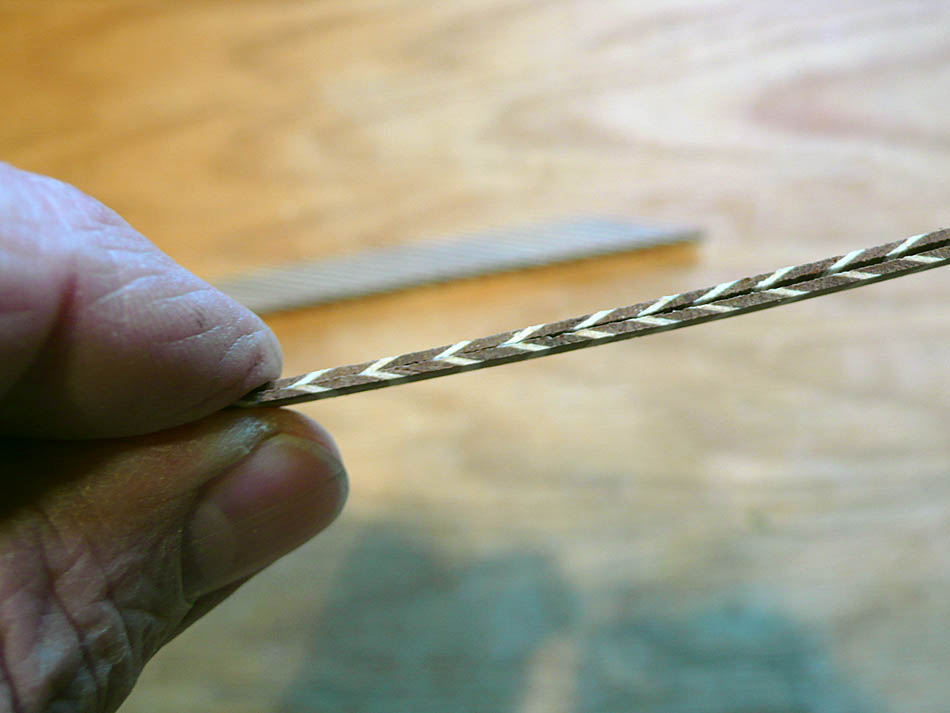
Herringbone
Completed rosette
2 Comments
Esten
March 23, 2015Wow, this is incredible. How long did this take? Nice work!
Carl
March 23, 2015Weeks! Counting interruptions for snow removal and other projects.